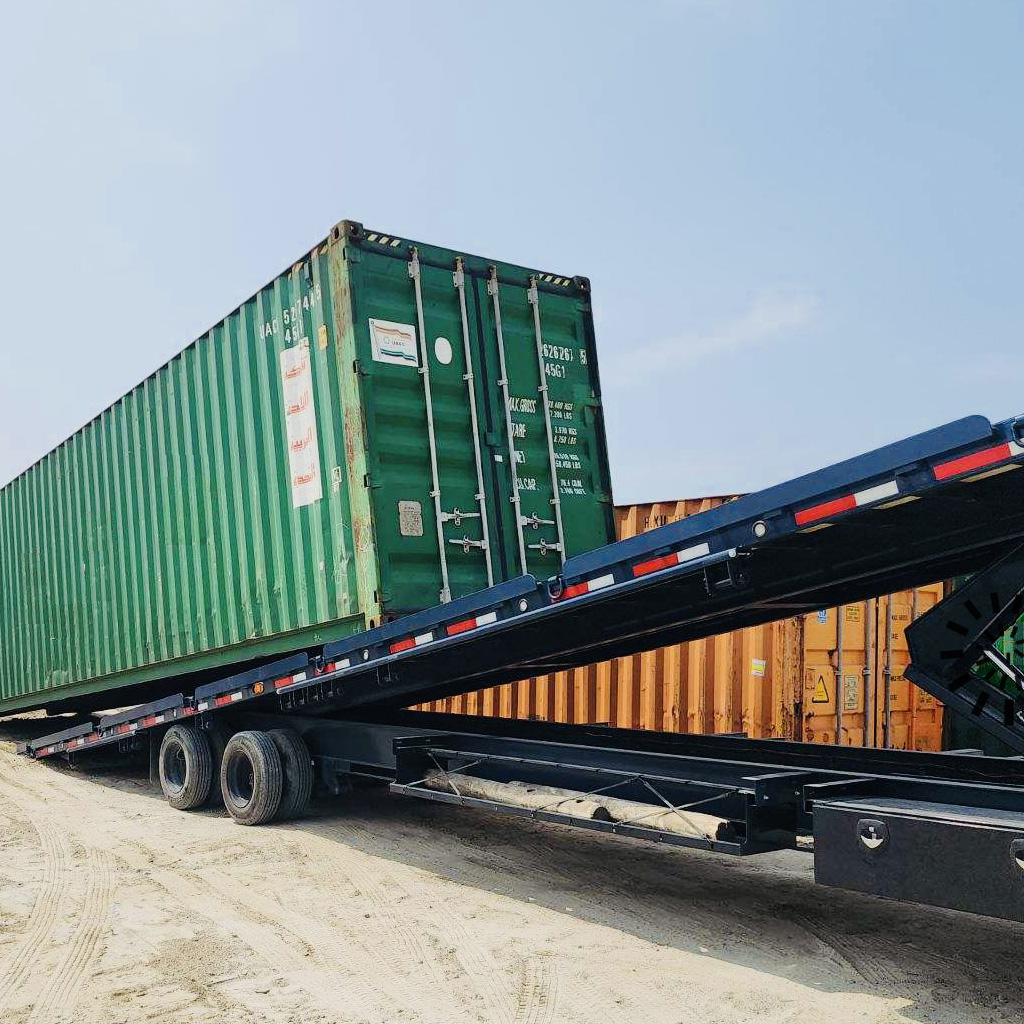

Shipping container homes have moved from architectural curiosity to legitimate building method. They’re durable, relatively affordable, and surprisingly fast to build. But turning a steel box into a livable space involves more than cutting a few windows. This guide covers what you actually need to know — from choosing the right container to navigating permits, insulation, and realistic budgets.
WHY HIGH CUBE CONTAINERS ARE THE STANDARD FOR HOMES
The 40ft high cube is the overwhelming favorite for container home projects, and for good reason. At 9 feet 6 inches tall, it provides enough ceiling height to accommodate insulation, electrical conduit, and finished flooring while still leaving comfortable headroom. Standard-height containers at 8’6” get tight fast once you add 3–4 inches of spray foam to the ceiling and a raised floor for plumbing runs.
Most single-container studio or tiny home builds use a single 40ft high cube, which delivers 320 square feet of raw floor space. Larger homes stack or connect multiple units. A two-container layout can yield 640 sq ft — enough for a comfortable one-bedroom with a full kitchen, bath, and living area. Browse our 40ft shipping container inventory to see available high cube units.
For smaller builds — garden offices, ADUs, or backyard studios — a 20ft high cube delivers about 160 sq ft, roughly the size of a generous home office. These work well as standalone structures and are easier to permit in many jurisdictions because of their smaller footprint.
NEW VS USED — WHICH SHOULD YOU BUY FOR A HOME BUILD?
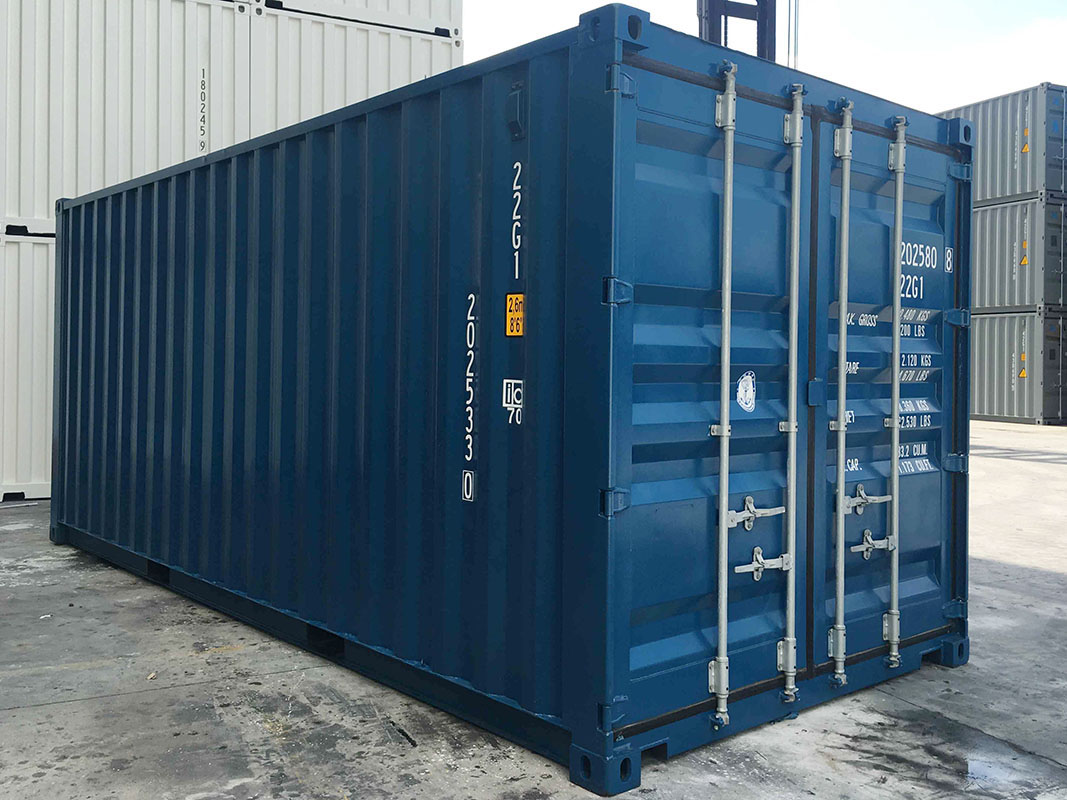
One-trip (new) containers are the safe bet for structural builds. The steel is pristine, the floors are clean, and there’s zero concern about prior chemical cargo. You’ll pay more upfront, but you save on prep work — no sandblasting, no floor replacement, and no worrying about what was shipped inside before you started framing walls.
Cargo-worthy used containers work fine if you inspect carefully. Look for straight walls, solid floors, and functional doors. Minor surface rust is cosmetic — corten steel is designed to develop a protective patina. Just make sure there’s no structural damage or through-holes. Our guide to buying used containers walks through exactly what to check and what photos to demand.
Skip wind-and-watertight (WWT) containers for homes. The extra wear and potential structural questions aren’t worth the savings on a project this significant. When you’re cutting openings for windows and doors, welding reinforcement beams, and building permanent living space, you need steel you can trust completely.
PERMITS AND ZONING — THE PART NOBODY WANTS TO TALK ABOUT
Container homes require building permits in virtually every jurisdiction. The process varies wildly by state and county, but here’s the general landscape:
- Oregon and Washington have become increasingly container-friendly. Portland allows container structures under residential building codes with proper engineering stamps.
- California requires Title 24 energy compliance, which means serious insulation and climate considerations. The ADU-friendly legislation has made smaller container builds more feasible, but the energy requirements add cost.
- Rural counties are often the most permissive — fewer zoning restrictions and more flexibility on non-traditional structures. If you have acreage outside city limits, your path to approval is typically smoother.
- HOA-governed neighborhoods are the hardest sell. Many HOAs explicitly prohibit container structures, and fighting that battle rarely ends well.
Start with your local building department before you buy a container. Ask specifically about “modular” or “prefabricated” structures — framing it that way tends to get a better reception than saying “shipping container.” Get the requirements in writing, including setback distances, foundation specs, and any engineering documentation they’ll need to see.
INSULATION OPTIONS AND CLIMATE CONSIDERATIONS
The biggest challenge with container homes is thermal management. Steel conducts heat and cold aggressively, and without proper insulation a container home becomes an oven in summer and a freezer in winter. Your insulation choice determines both comfort and long-term livability.
- Closed-cell spray foam (most popular): 2–3 inches provides R-13 to R-20 and doubles as a vapor barrier. Applied directly to the interior steel walls and ceiling. Reduces interior width by roughly 6 inches total, but the simplicity and performance make it the go-to choice for most builders.
- Rigid foam board: Cheaper than spray foam but harder to apply to corrugated walls without first adding a framing layer. Works well on flat surfaces like the ceiling and floor. Often used in combination with spray foam for budget-conscious builds.
- Exterior cladding with mineral wool: Preserves full interior dimensions by insulating outside the container. More expensive and more complex to execute, but yields the best interior space and eliminates condensation concerns on interior walls.
For Portland and the Pacific Northwest, R-20 walls and R-30 ceiling are reasonable targets. Desert climates need more; mild coastal zones can get away with less. Whatever you choose, don’t skimp — insulation is the single biggest factor in whether a container home feels like a real house or a decorated steel box.
COST BREAKDOWN — WHAT TO BUDGET
| Item | Estimated Cost Range |
|---|---|
| Container (40ft HC, new) | $4,500–$6,500 |
| Delivery | $500–$2,000 |
| Foundation (concrete piers or slab) | $3,000–$8,000 |
| Insulation (spray foam) | $3,000–$5,000 |
| Electrical rough-in | $2,500–$5,000 |
| Plumbing rough-in | $3,000–$7,000 |
| Windows & door cutouts | $2,000–$4,000 |
| Interior finish (drywall, flooring, fixtures) | $8,000–$20,000 |
| Total estimate (single-container studio) | $26,500–$57,500 |
These numbers assume a basic studio or ADU build using a single 40ft high cube. Multi-container homes, custom architectural designs, and high-end finishes can push costs well above $100,000. Even so, container builds typically come in 10–20% below comparable traditional construction — and on a faster timeline.
GETTING STARTED — YOUR FIRST STEPS
- Check local zoning and building codes for container structures
- Hire an architect or engineer experienced with container builds
- Choose your container size and condition — browse our full inventory
- Pour or prepare a foundation before the container arrives
- Order the container with delivery timed to your build schedule — request a delivery quote
Container Coast supplies the foundation of your build — literally. We’ll help you choose the right unit, document its condition with a full photo set, and deliver it to your site on your timeline. Whether you’re planning a backyard ADU or a full residential conversion, request a quote to get started.